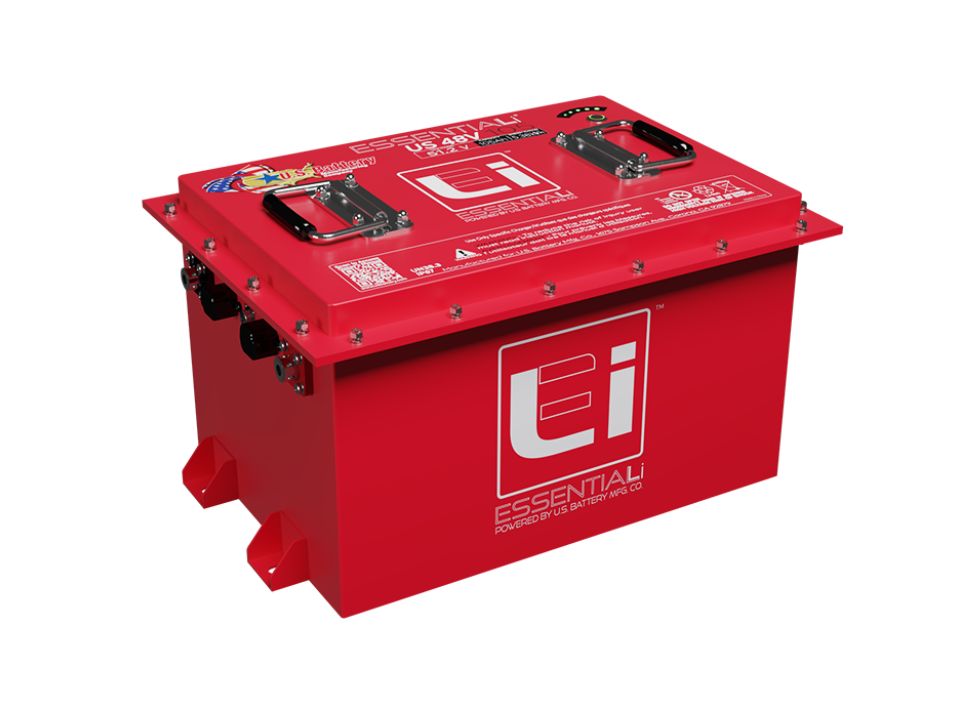
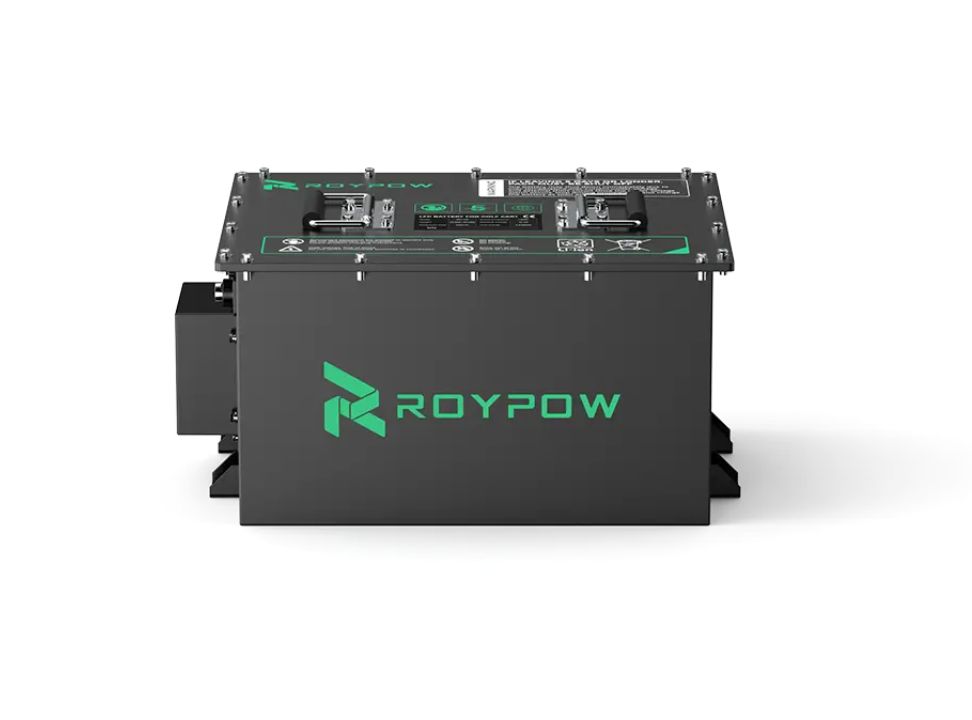
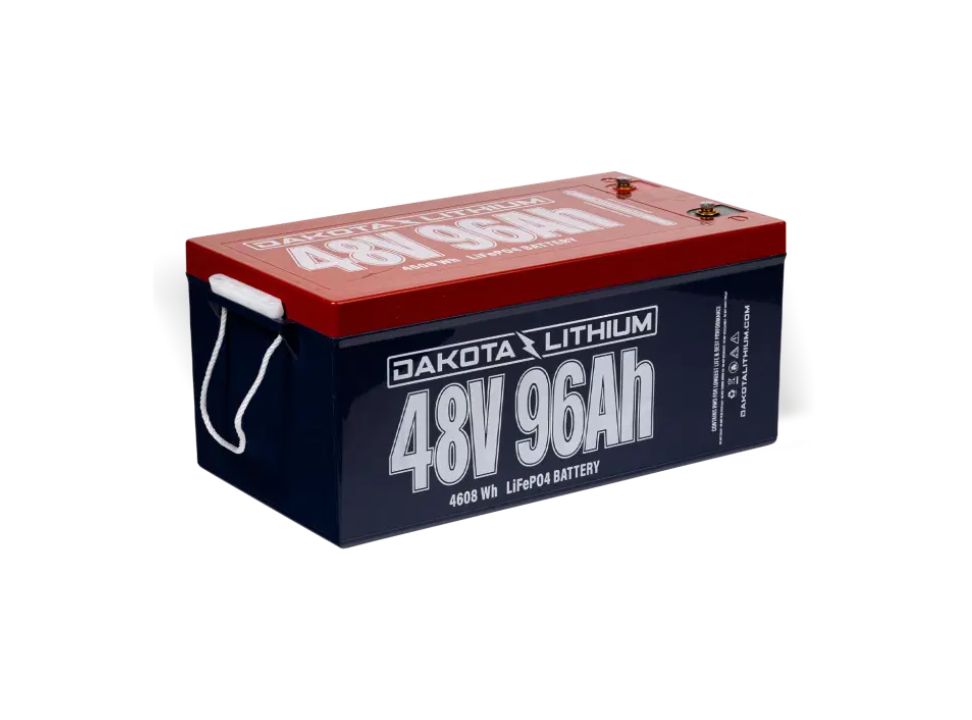
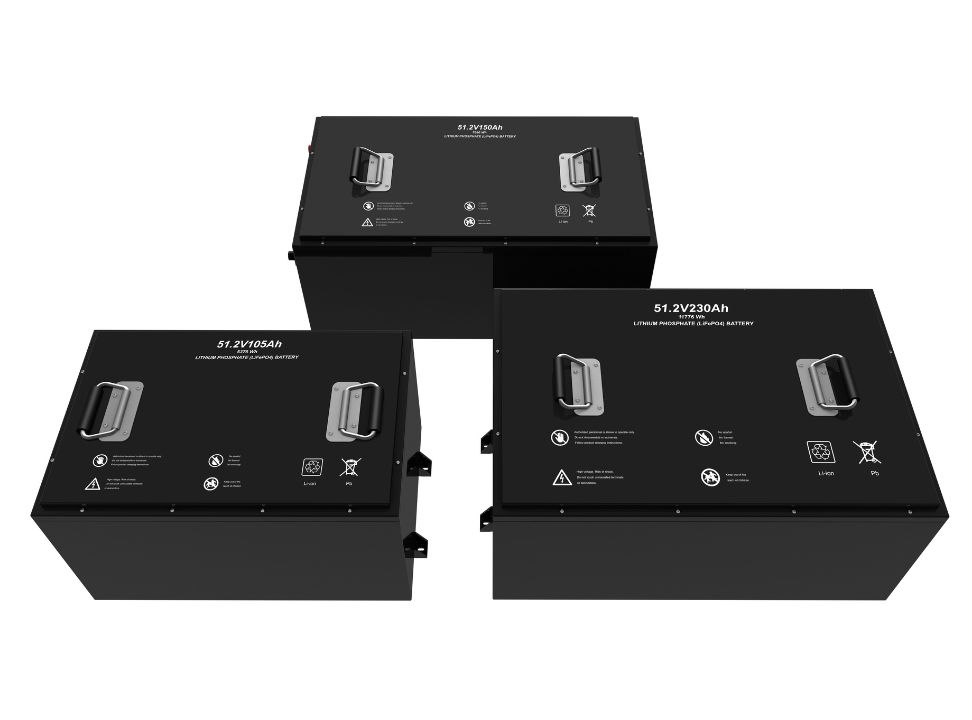
Elevate Golf Cart Performance with Seastar Battery’s 72V Lithium Solutions
Golf cart manufacturers and modification experts know that meeting evolving customer demands requires innovation, efficiency, and reliability.
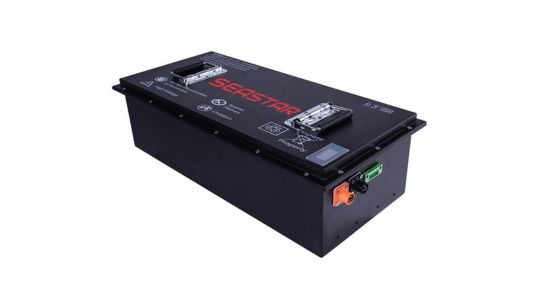
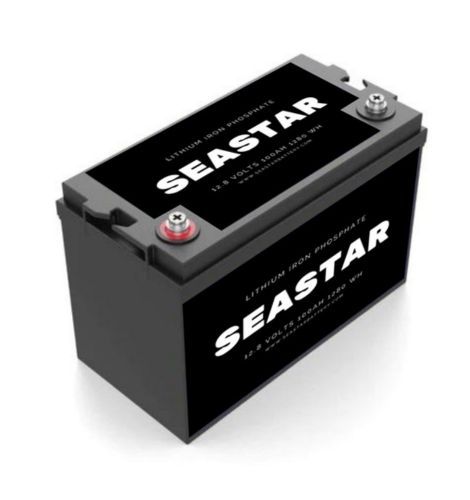
At Seastar Battery, we specialize in providing 72V lithium batteries that deliver unparalleled performance,
Making them the ideal choice for upgrading golf carts, powering new models, and enhancing existing designs.
Table of Contents
Why 72V Lithium Batteries Are a Game-Changer
Power Up Performance
When customers ask for faster, longer-lasting golf carts, a 72V lithium battery is the answer:
- Increased Speed: Easily achieve higher speeds, catering to recreational and commercial applications.
- Extended Range: Cover greater distances on a single charge, reducing downtime and improving efficiency.
- Stable Power Delivery: Lithium technology ensures consistent performance throughout the battery’s discharge cycle.
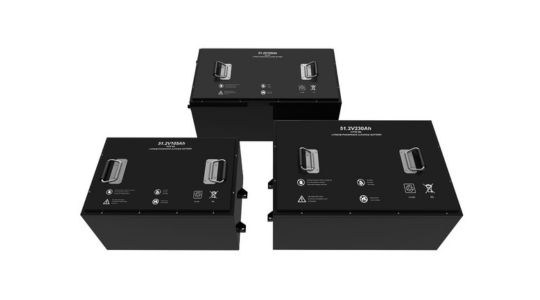
Lightweight & Efficient Design
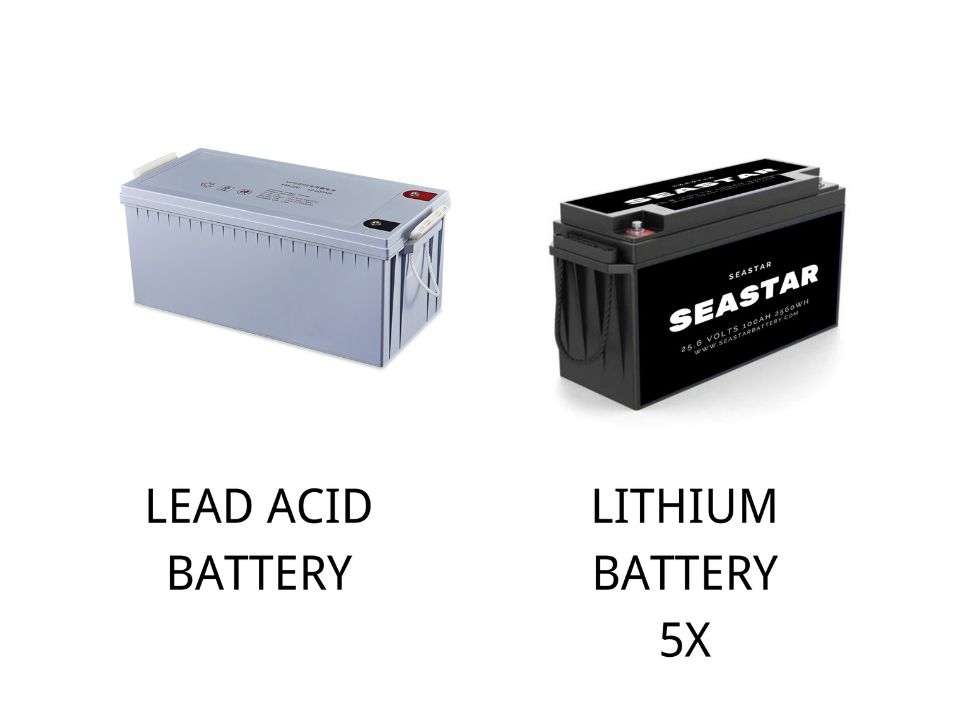
Lithium batteries are significantly lighter than traditional lead-acid options, improving vehicle efficiency and handling:
- Enhanced Maneuverability: Perfect for golf carts navigating tight courses or terrains.
- Energy Savings: Less weight means less energy is needed to power the cart.
Durability That Lasts
Seastar Battery’s 72V lithium solutions are built to last, offering thousands of charge cycles and up to 10 years of reliable use. This means:
- Lower maintenance costs.
- Fewer replacements over the cart’s lifetime.
Perfect for Manufacturers and Modifiers
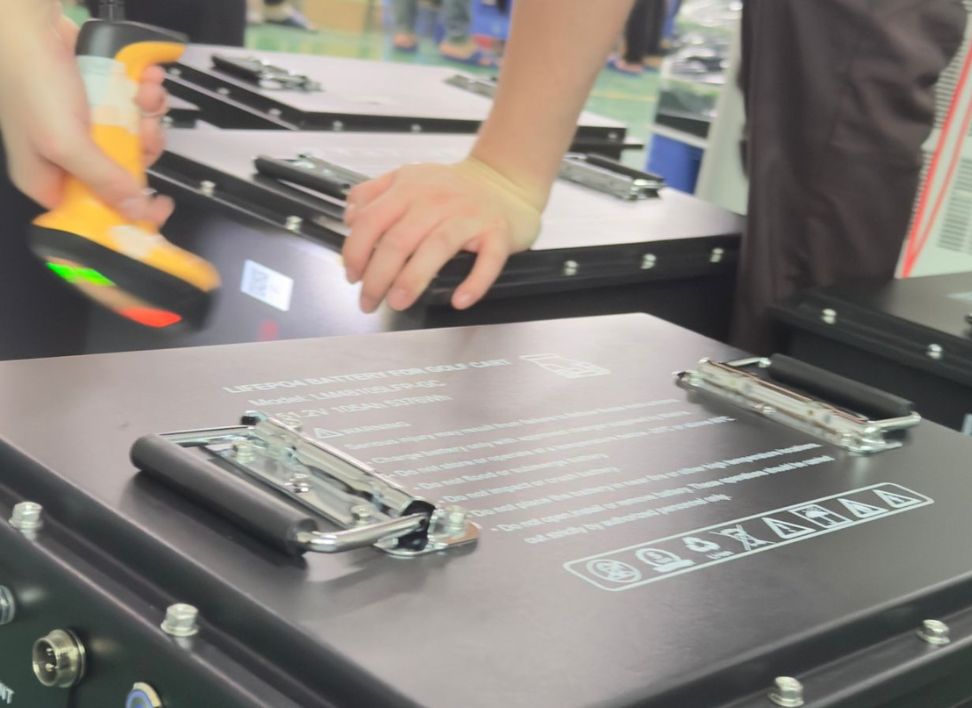
Customer Demand Drives Innovation
Golf cart owners are increasingly requesting higher-performance vehicles.
Seastar Battery’s 72V lithium systems make it easy to meet and exceed these expectations.
Ideal for New Models
When designing the next generation of golf carts, choosing a high-voltage, high-efficiency power system like
Seastar Battery’s 72V lithium solution ensures your models are ready for market trends.
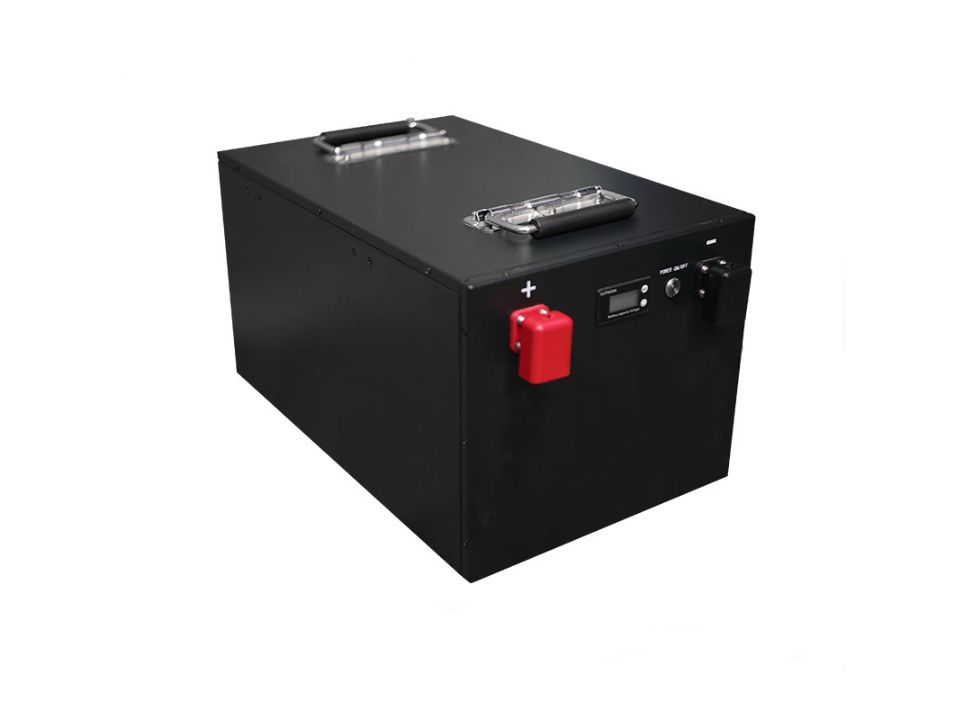
Boosting Existing Designs
Looking to upgrade current products? A 72V conversion kit powered by Seastar batteries allows you to:
- Elevate performance without redesigning the entire cart.
- Retain competitiveness in a rapidly evolving market.
Key Features of Seastar’s 72V Lithium Batteries
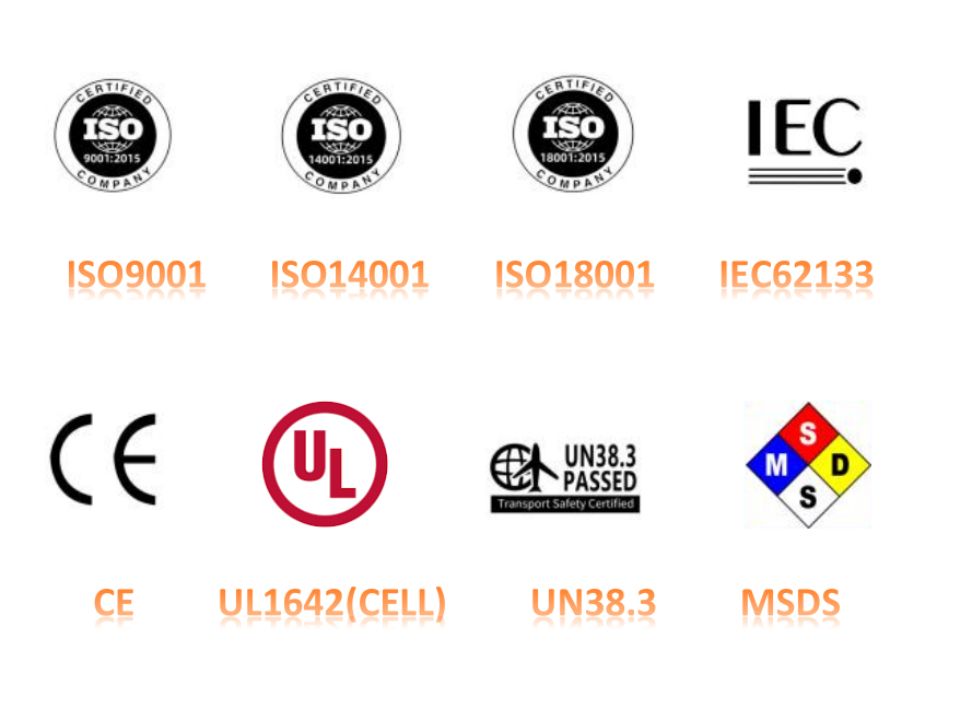
Certified Safety and Quality:
All batteries meet CE, UL, and ISO standards for reliability and safety.
Fast Charging:
Minimize downtime with rapid charging technology, keeping golf carts ready to perform.
Customizable Solutions:
Tailor battery specifications to fit your unique requirements, ensuring seamless integration into your designs.
Eco-Friendly Technology:
Lithium batteries reduce environmental impact, helping your business align with sustainability goals.
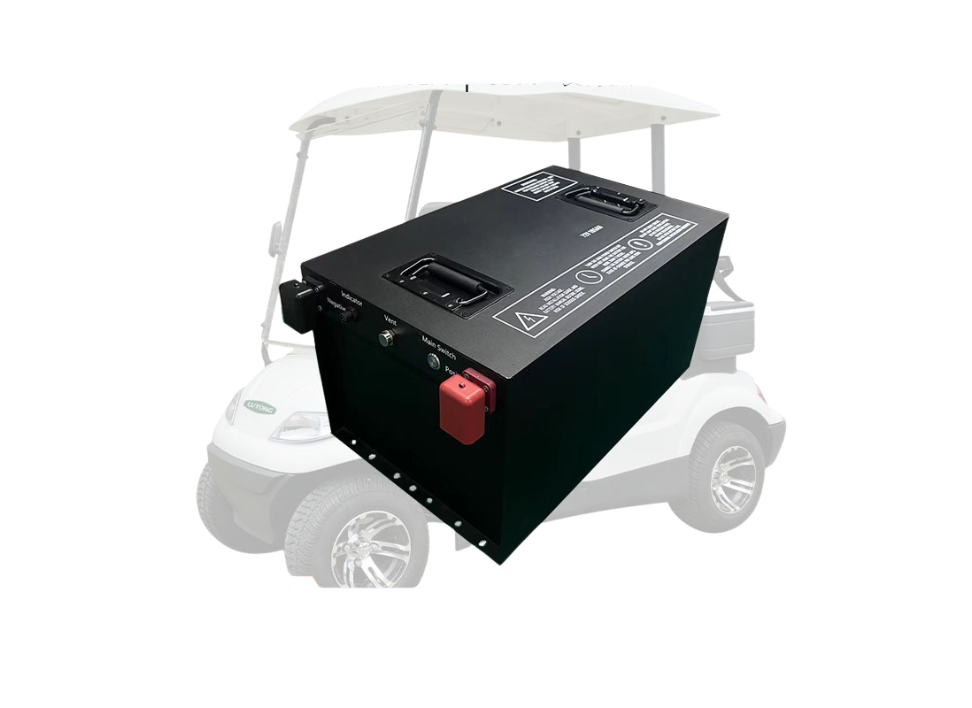
What is the best brand for 72V golf cart batteries?
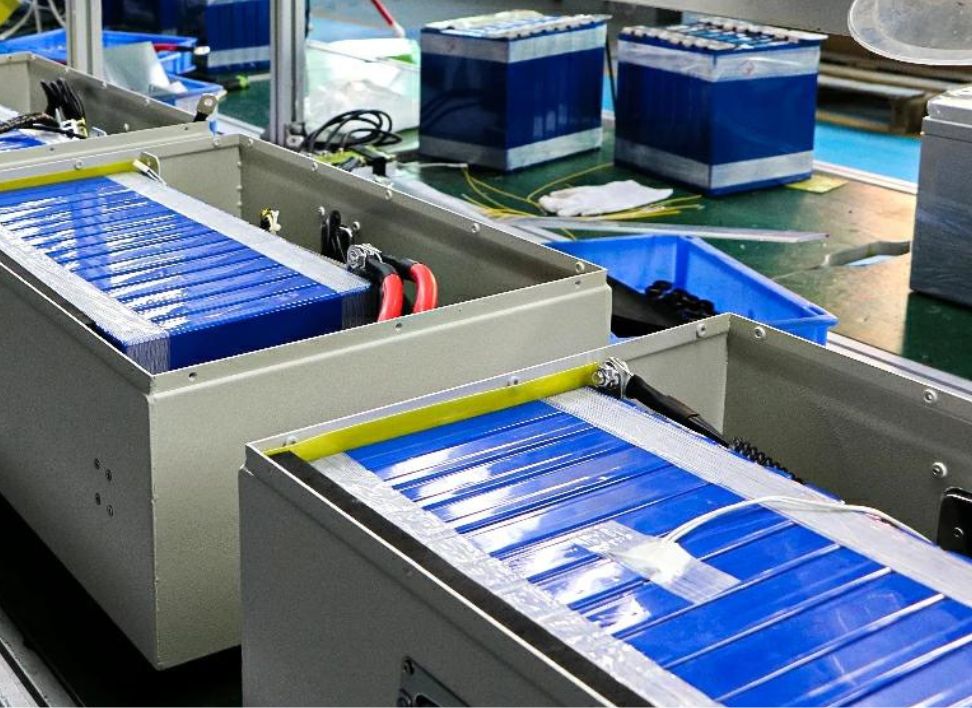
Top Performance:
Our 72V lithium batteries provide unparalleled speed, range, and power consistency, ensuring smooth rides for your golf carts in any setting.
Advanced Technology:
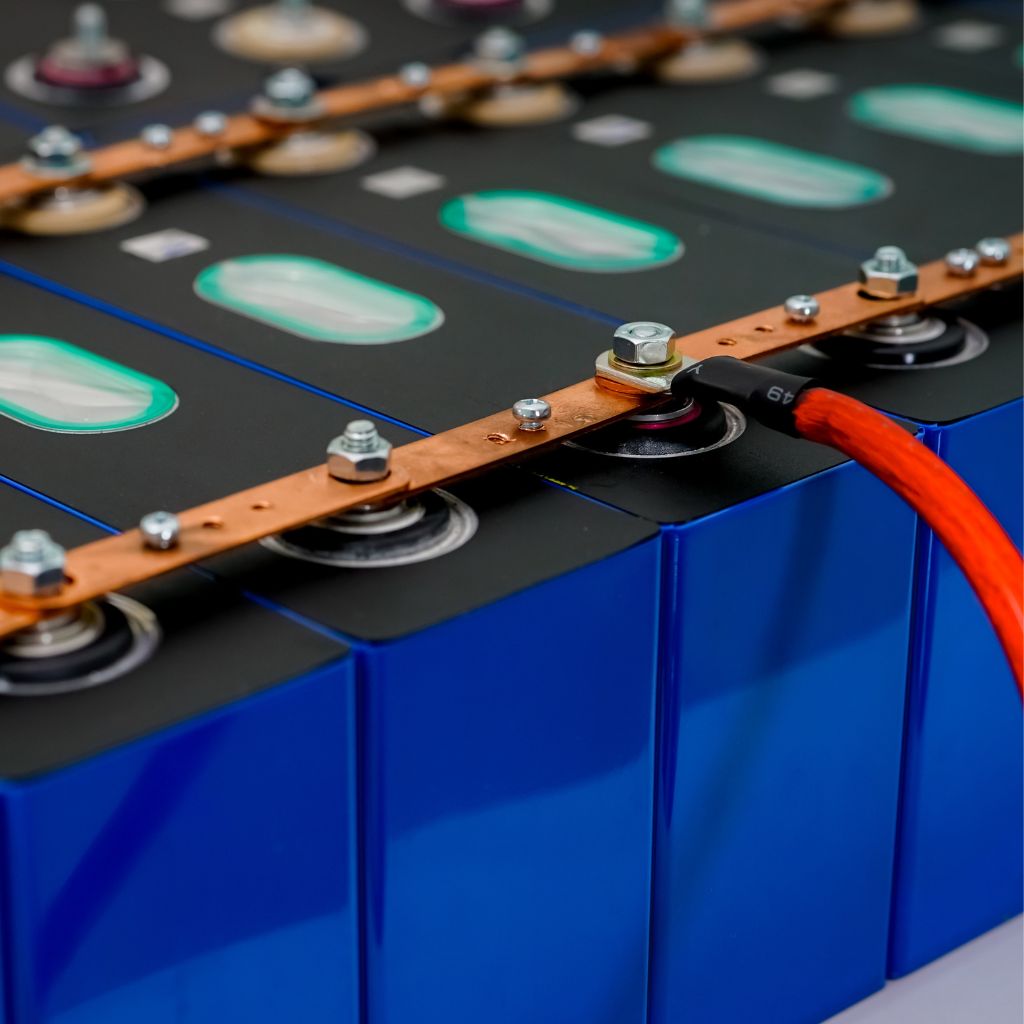
Built with cutting-edge lithium-ion technology, our batteries are lighter, more durable, and faster charging than traditional lead-acid batteries.
Proven Excellence:
Certified to CE, UL, and ISO standards, Seastar batteries are tested for safety, performance, and reliability to meet international requirements.
Global Recognition:
Trusted by golf cart manufacturers and modifiers worldwide, we’ve established ourselves as a leader in lithium battery solutions.
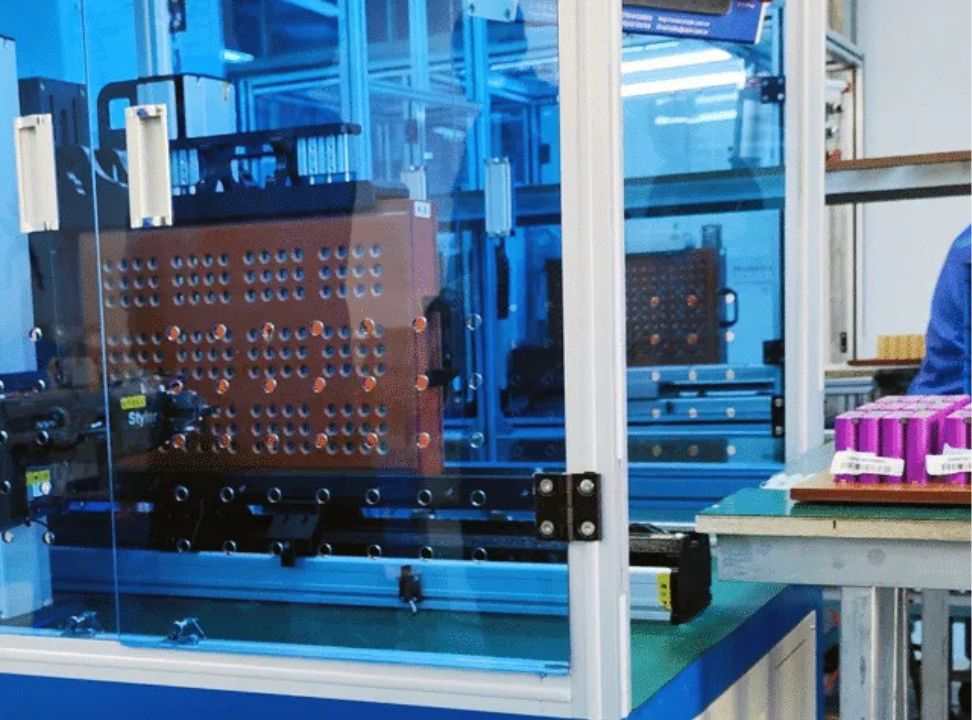
Who are reliable suppliers for 72V batteries for golf carts?
Finding a reliable supplier is critical to maintaining a steady supply chain and ensuring customer satisfaction.
Seastar Battery stands out with:
Unmatched Reliability:
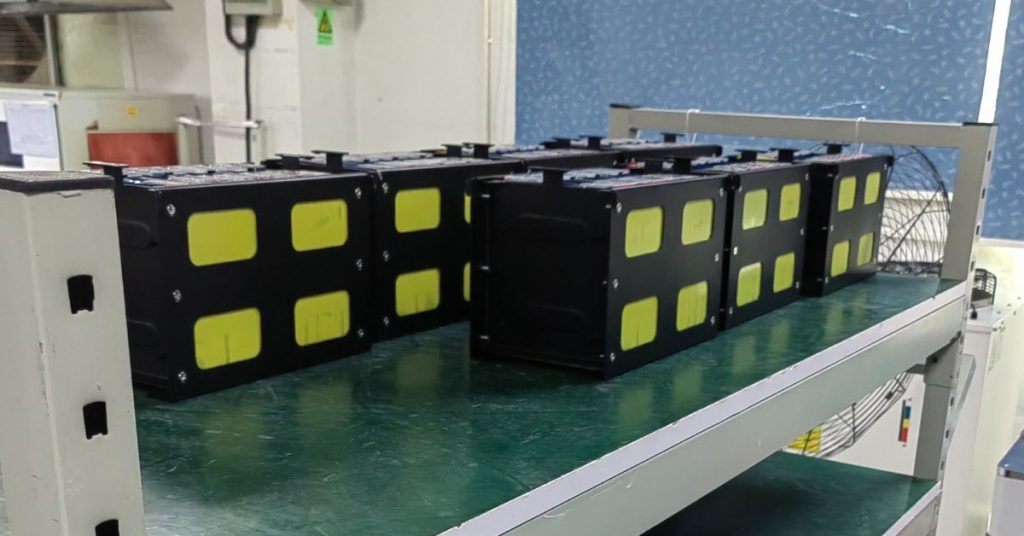
As a leading lithium battery manufacturer, we provide consistent product availability and fast delivery to keep your projects on track.
Comprehensive Product Line
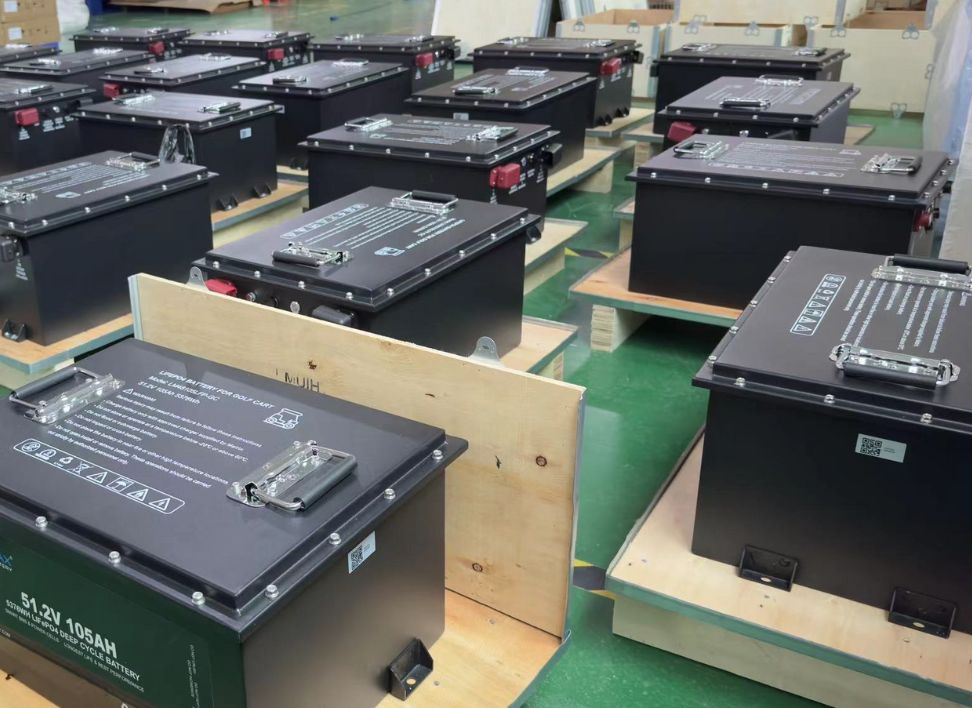
Our range of 72V lithium batteries is designed for various golf cart models, offering flexibility and compatibility for manufacturers and modifiers.
Bulk Order Discounts
Save more with our competitive pricing for large-scale purchases, making us the ideal supplier for distributors and large businesses.
Custom Solutions
Need something specific? We offer customization options to meet your unique business requirements, whether it’s battery capacity, voltage specifications, or compatibility.
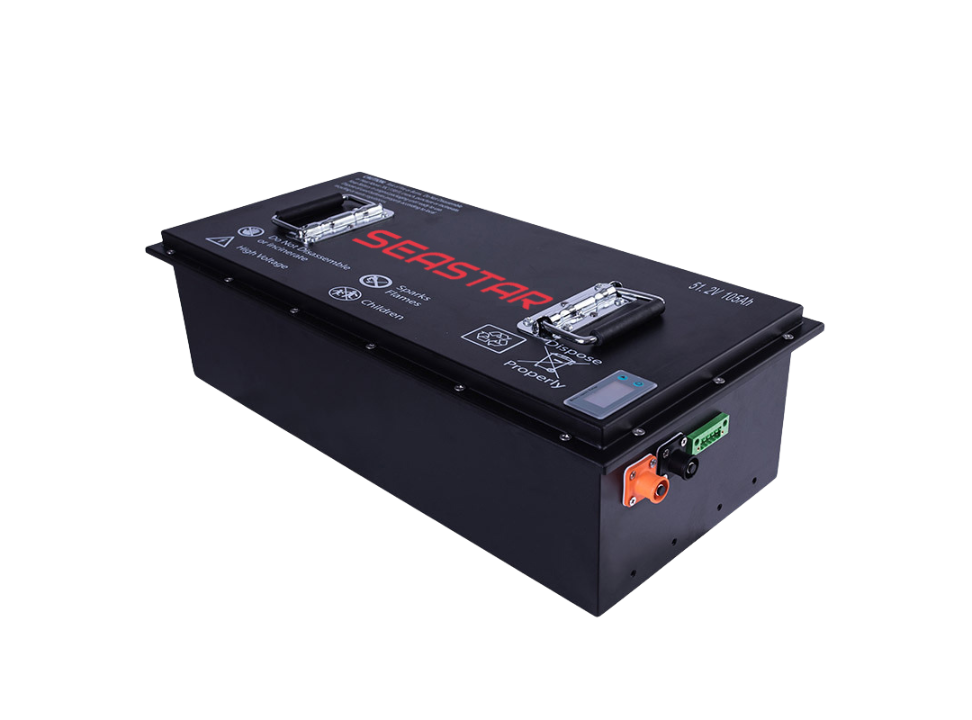
What are the recommended conversion kits for upgrading golf carts?
Upgrading a golf cart to a 72V system can seem daunting, but Seastar Battery simplifies the process with our complete conversion kits:
All-in-One Solution:
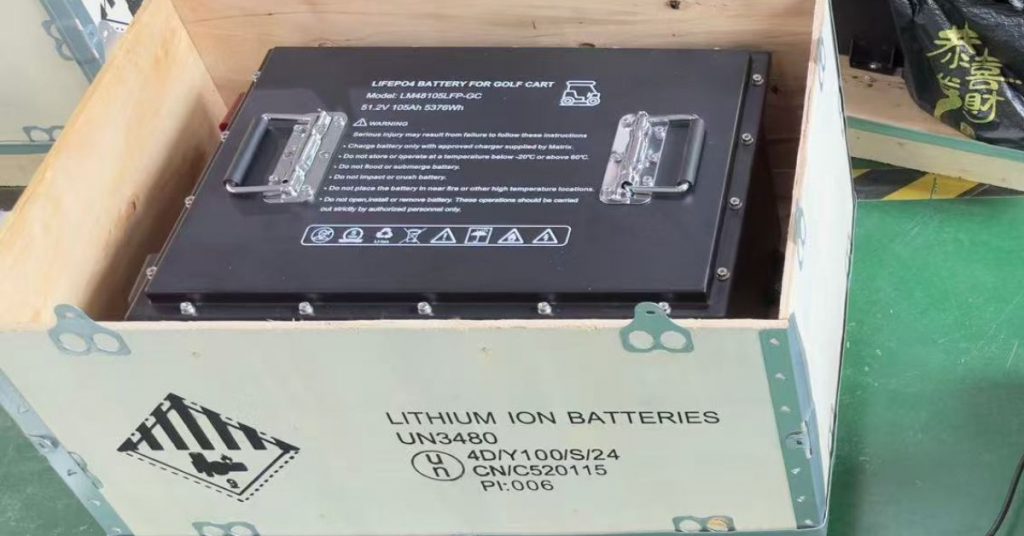
Each kit includes high-capacity 72V lithium batteries, fast chargers, and all necessary components for a hassle-free installation.
Step-by-Step Guidance:
We provide detailed instructions and technical support to ensure a smooth upgrade for your golf cart fleet.
Performance Boost:
Transform your golf carts with improved speed, extended range, and stable power delivery, giving you a competitive edge in the market.
Compatibility Assurance:
Our kits are designed to integrate seamlessly with various golf cart brands and models, eliminating compatibility concerns.

Why Seastar Battery Is Your Go-To Partner
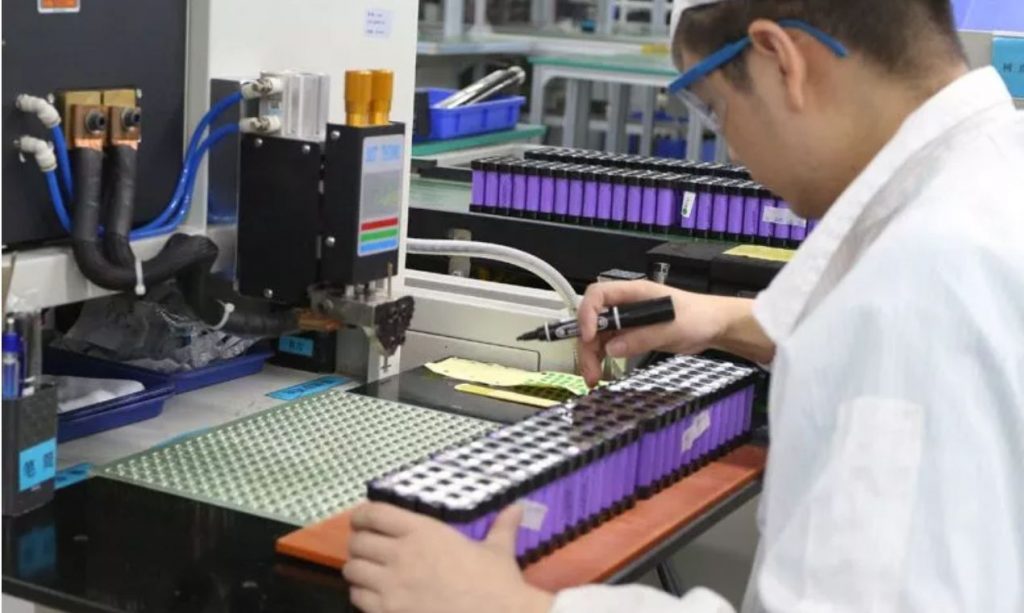
At Seastar Battery, we don’t just sell batteries; we offer solutions tailored to the needs of golf cart manufacturers and modifiers. Here’s why we’re the top choice:
- Trusted Expertise: Years of experience in lithium battery manufacturing ensure you’re getting the best in the industry.
- Exceptional Support: Our team is available to assist you at every step, from choosing the right products to technical troubleshooting.
- Proven Track Record: We’ve earned the trust of businesses globally, with a portfolio of successful partnerships and satisfied clients.

Get Everything You Need at Seastar Battery
When you search for “the best 72V lithium battery brand,” “reliable suppliers for golf cart batteries,” or “recommended golf cart conversion kits,”
Seastar Battery delivers everything you need—and more.
Ready to power up your golf carts with Seastar Battery?
Explore our 72V lithium solutions at Seastar Battery or contact us today for customized recommendations.
Your search for the perfect solution ends here!
Elevate Golf Cart Performance with Seastar Battery’s 72V Lithium Solutions Read More »
